
The Reflective
Coatings Standard.
Every floor we install follows our proven 10-step installation system. Every step is designed to maximize adhesion, durability, and long-term performance. We never skip steps or cut corners because quality starts with proper preparation.
 Step 01RC Standard01
Surface Preparation
Mechanically grind the concrete using professional diamond grinders to remove contaminants, open the concrete pores, and create the ideal profile for maximum adhesion.
 Step 02RC Standard02
Clean & Vacuum
Completely vacuum the floor using industrial HEPA vacuums to remove all dust and debris before repairs begin.
 Step 03RC Standard03
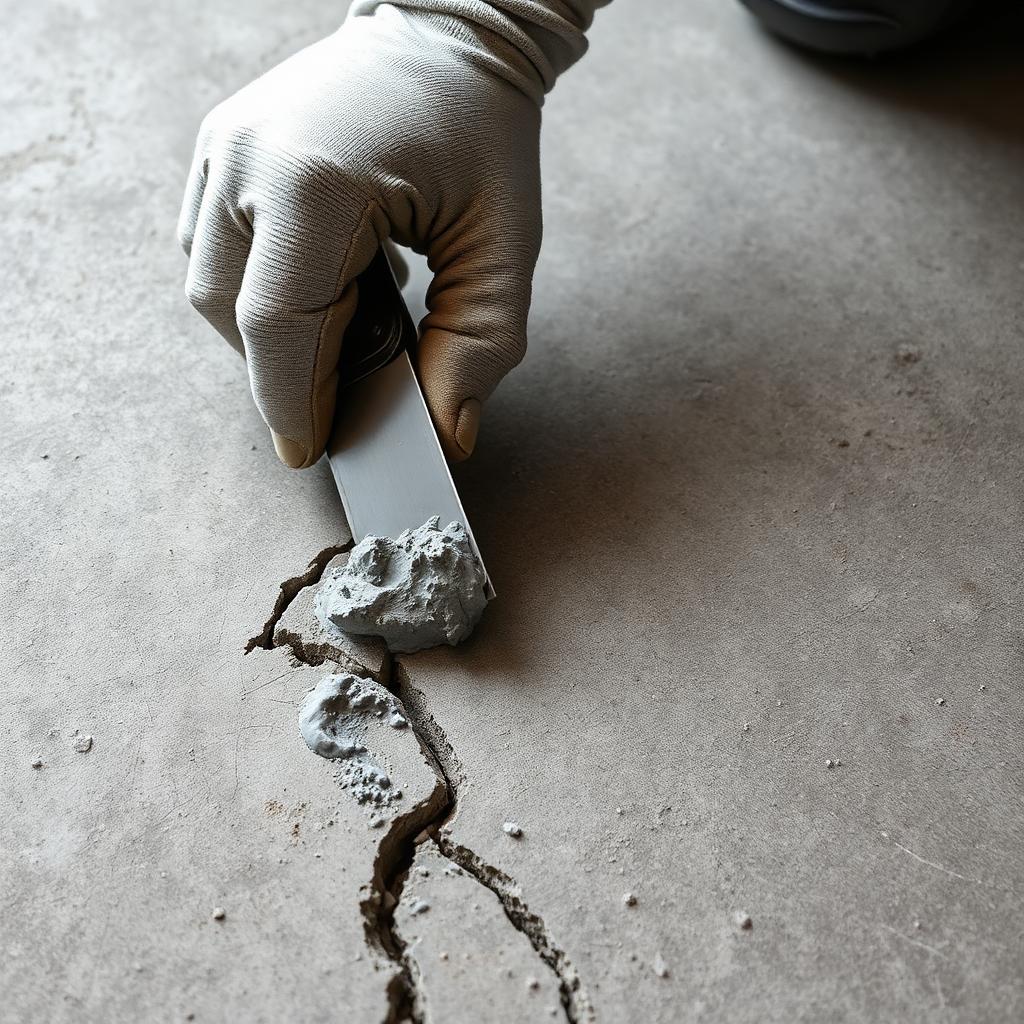
Crack & Surface Repair
Repair cracks, pits, and imperfections using a professional polymer concrete mender to restore a smooth, durable surface.
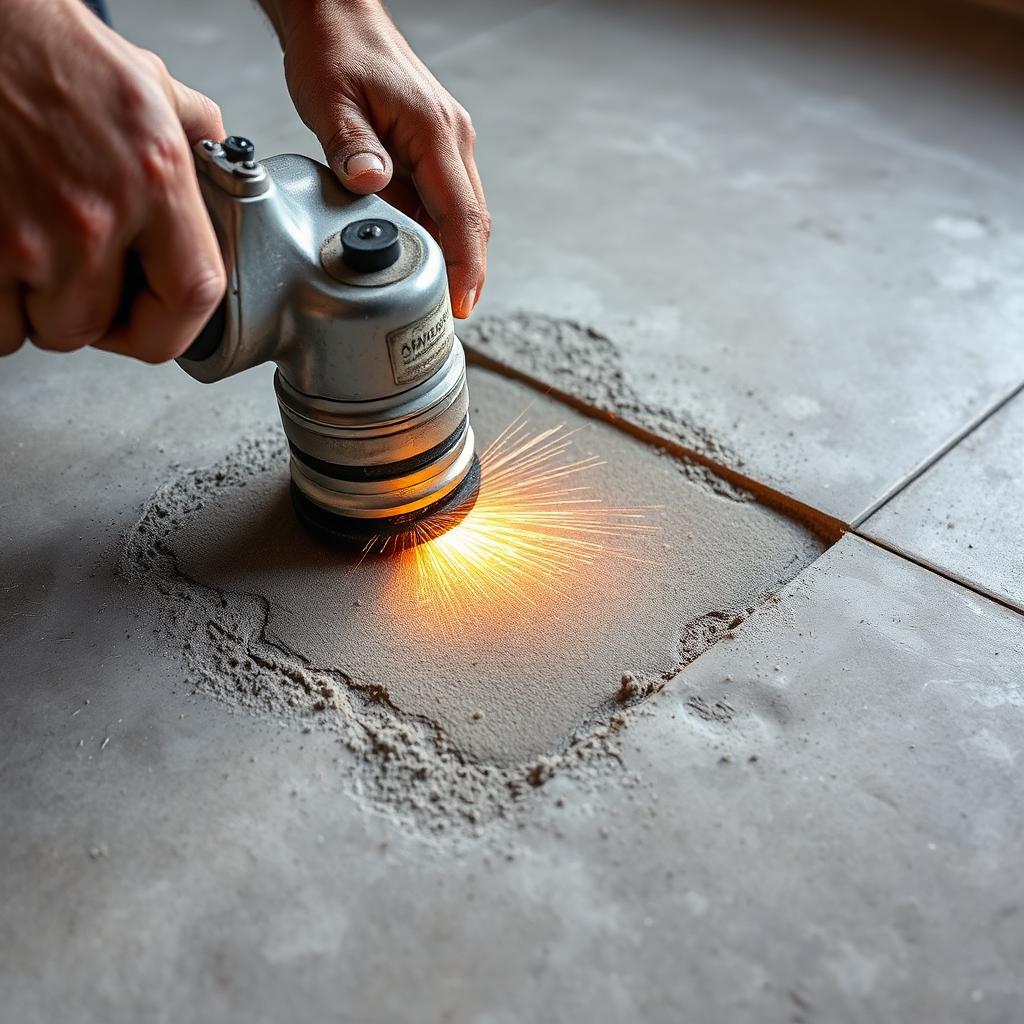 Step 04RC Standard04
Re-Grind Repairs
Grind repaired areas smooth and flush with the surrounding concrete to ensure a perfectly level surface.
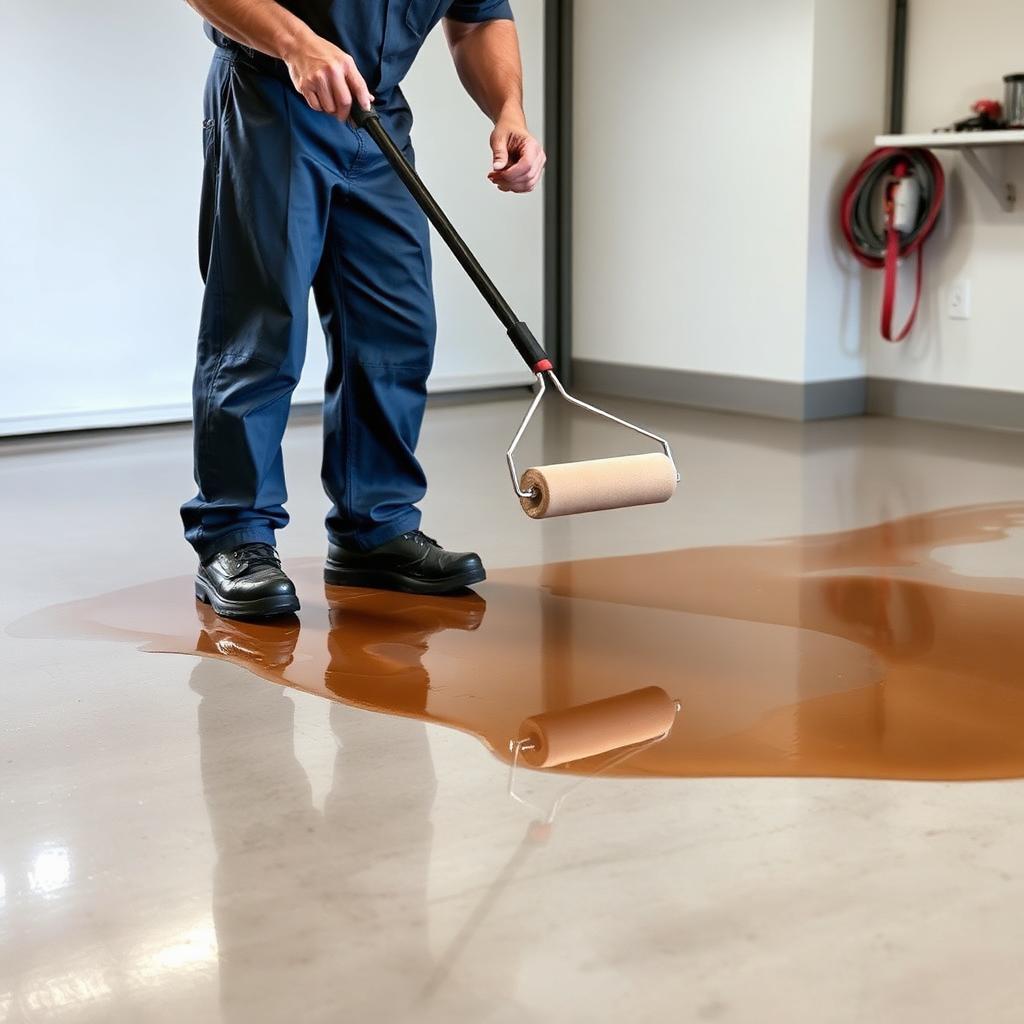 Step 05RC Standard05
Epoxy Base Coat
Apply a premium epoxy base coat evenly across the entire floor to create a strong bond with the concrete.
 Step 06RC Standard06
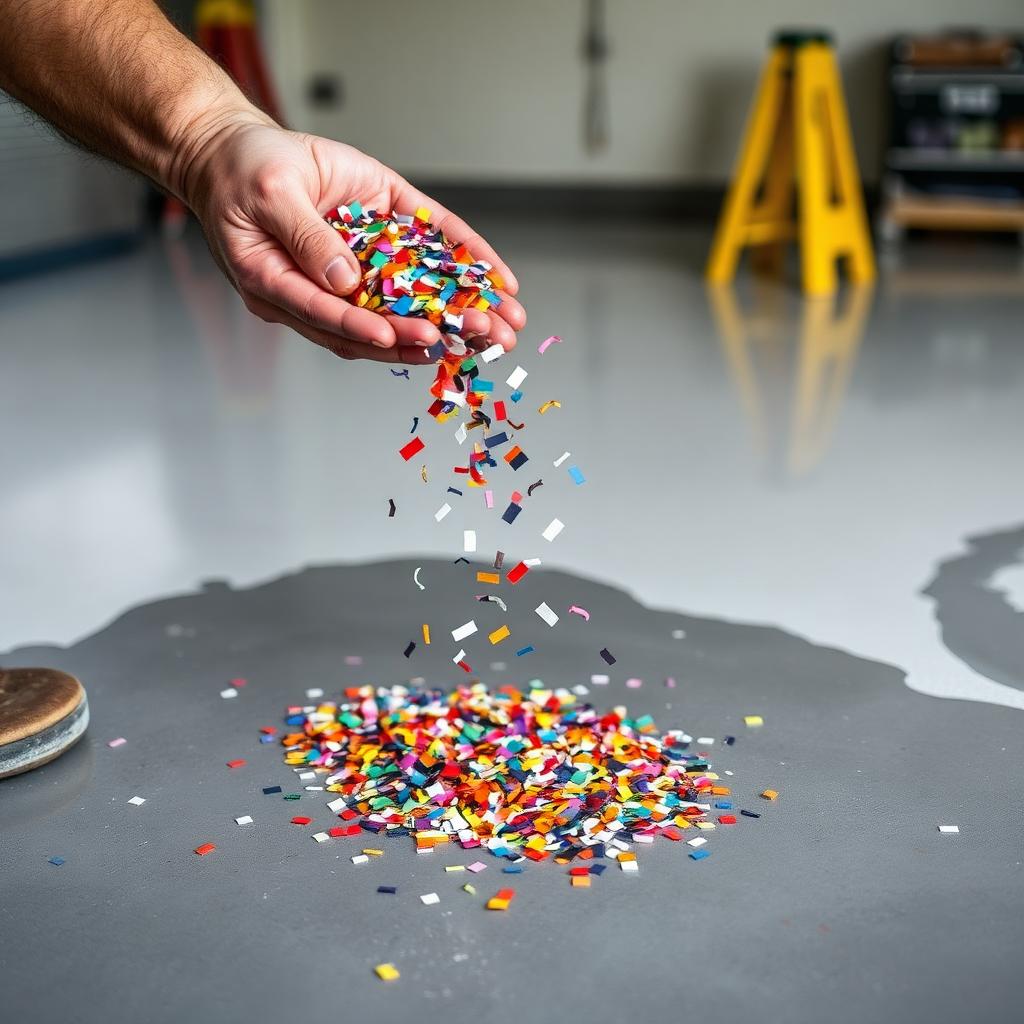
Full Flake Broadcast
Broadcast decorative vinyl flakes into the wet epoxy until full refusal to achieve complete coverage and texture.
 Step 07RC Standard07
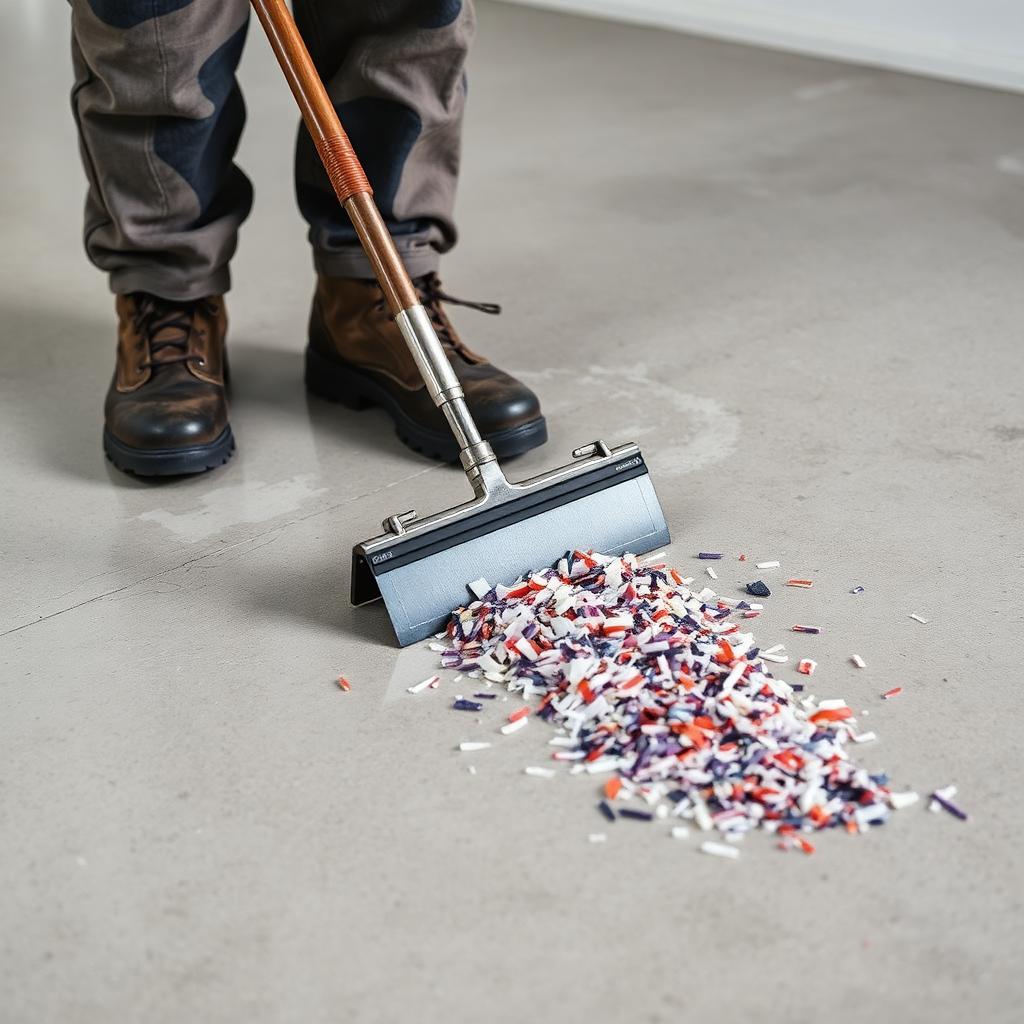
Scrape Excess Flake
After curing, scrape the entire floor to remove all loose or standing flakes and create a consistent finish.
 Step 08RC Standard08
Final Vacuum
Vacuum the floor thoroughly to remove all remaining flakes and dust before applying the protective topcoat.
 Step 09RC Standard09
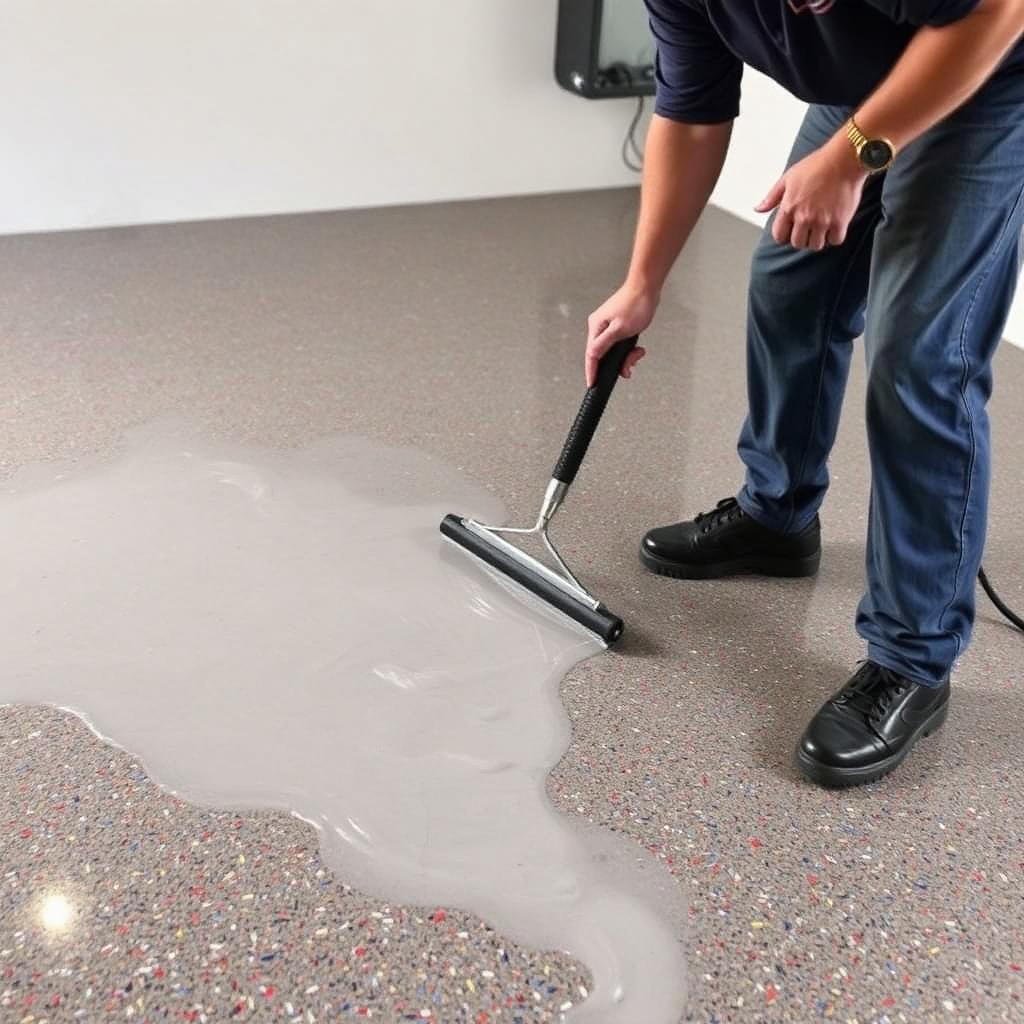
Polyaspartic Topcoat
Apply a premium UV-stable polyaspartic topcoat that protects against chemicals, abrasions, stains, and hot tire pickup while providing a beautiful finish.
 Step 10RC Standard10
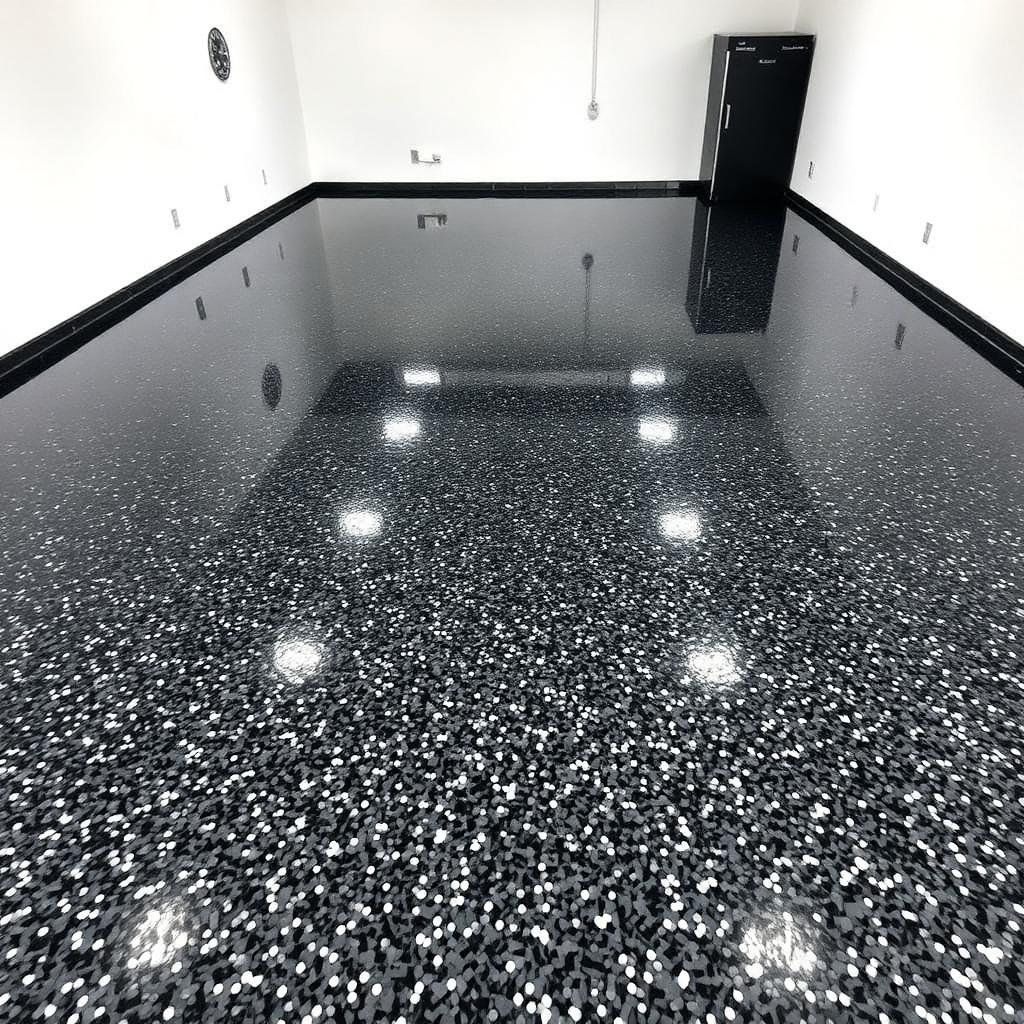
Finished Floor
Reveal the completed Reflective Coatings floor — durable, seamless, easy to maintain, and built to perform for years to come.
“The Reflective Coatings Standard isn’t just a process — it’s our commitment to doing every floor the right way. Every step matters because lasting quality starts long before the final topcoat.”
40% deposit due upon acceptance of the proposal to reserve scheduling and purchase materials. The remaining 60% is due immediately upon project completion, before our crew leaves the worksite.